Physical Address
304 North Cardinal St.
Dorchester Center, MA 02124
Physical Address
304 North Cardinal St.
Dorchester Center, MA 02124
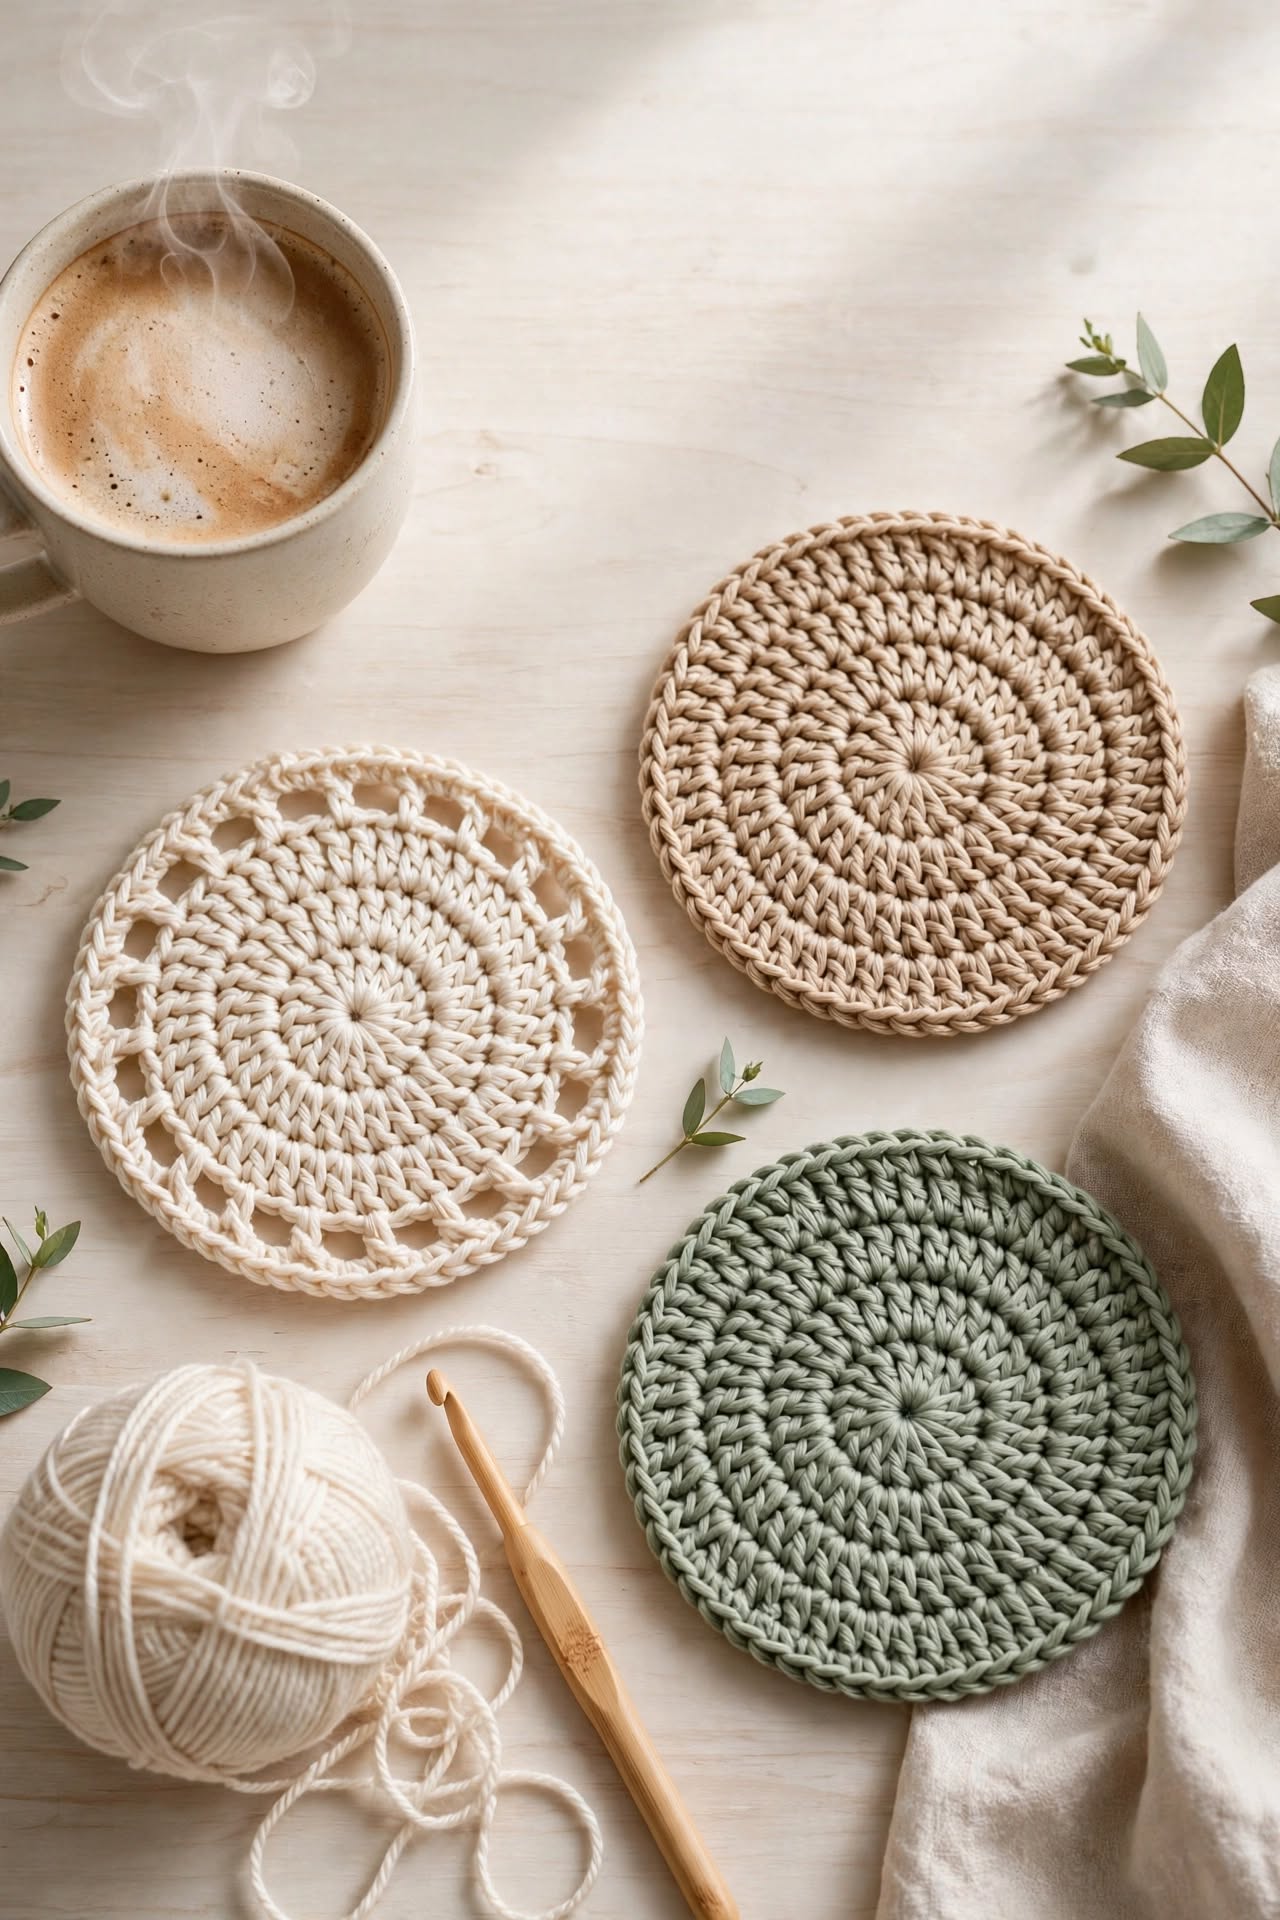
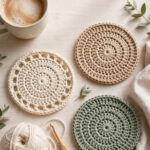
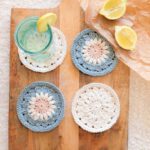
If you love quick, colorful crochet projects that double as home décor, this crochet flower pot coaster set is about to become your new favorite. It’s beginner-friendly, uses minimal yarn, and looks far more impressive than the little time it takes to make.
In this post, you’ll find everything you need: materials, stitch guide, and a full step-by-step pattern for crocheting your own flower pot coaster set.
| Abbreviation | Meaning |
|---|---|
| ch | chain |
| sc | single crochet |
| sl st | slip stitch |
| sts | stitches |
| rnd | round |
Step 1 – Start the Center Using your center color, make a magic ring. Work 6 sc into the ring, then join with a sl st to the first stitch. (6 sts)
Step 2 – Build the Petal Round Switch to your petal color. In each stitch around, work (sc, ch 2, sl st) to form one petal. Repeat around until you have 6 petals. Fasten off and weave in the center-color end.
Step 3 – Add a Second Petal Layer (Optional) For a fuller flower, join a new round of yarn behind the first layer of petals and repeat the petal stitch, offsetting each petal between the ones below.
Step 4 – Finish the Coaster Weave in all ends. Lightly steam or block the flower so the petals lie flat.
Repeat Steps 1–4 to make as many flower coasters as you’d like in your set.
Step 1 – Start the Base Using your pot color, make a magic ring. Work 6 sc into the ring, join with a sl st. (6 sts)
Step 2 – Increase the Base Rnd 2: 2 sc in each st around. (12 sts) Rnd 3: sc, 2 sc in next st repeat around. (18 sts) Continue increasing evenly until the base reaches your desired width.
Step 3 – Work the Sides Once the base is the right size, sc in each stitch around without increasing for 3–4 rounds to form the sides of the pot.
Step 4 – Finish Fasten off and weave in ends. Place your finished flower coasters inside the pot to display.
This crochet flower pot coaster set is one of those patterns that looks far more complex than it actually is. Once you’ve made your first flower, the rest come together quickly — and before long, you’ll have a full set ready for your coffee table or as a handmade gift.
If you make this pattern, I’d love to see your version! Save this pin and tag me in your finished project.